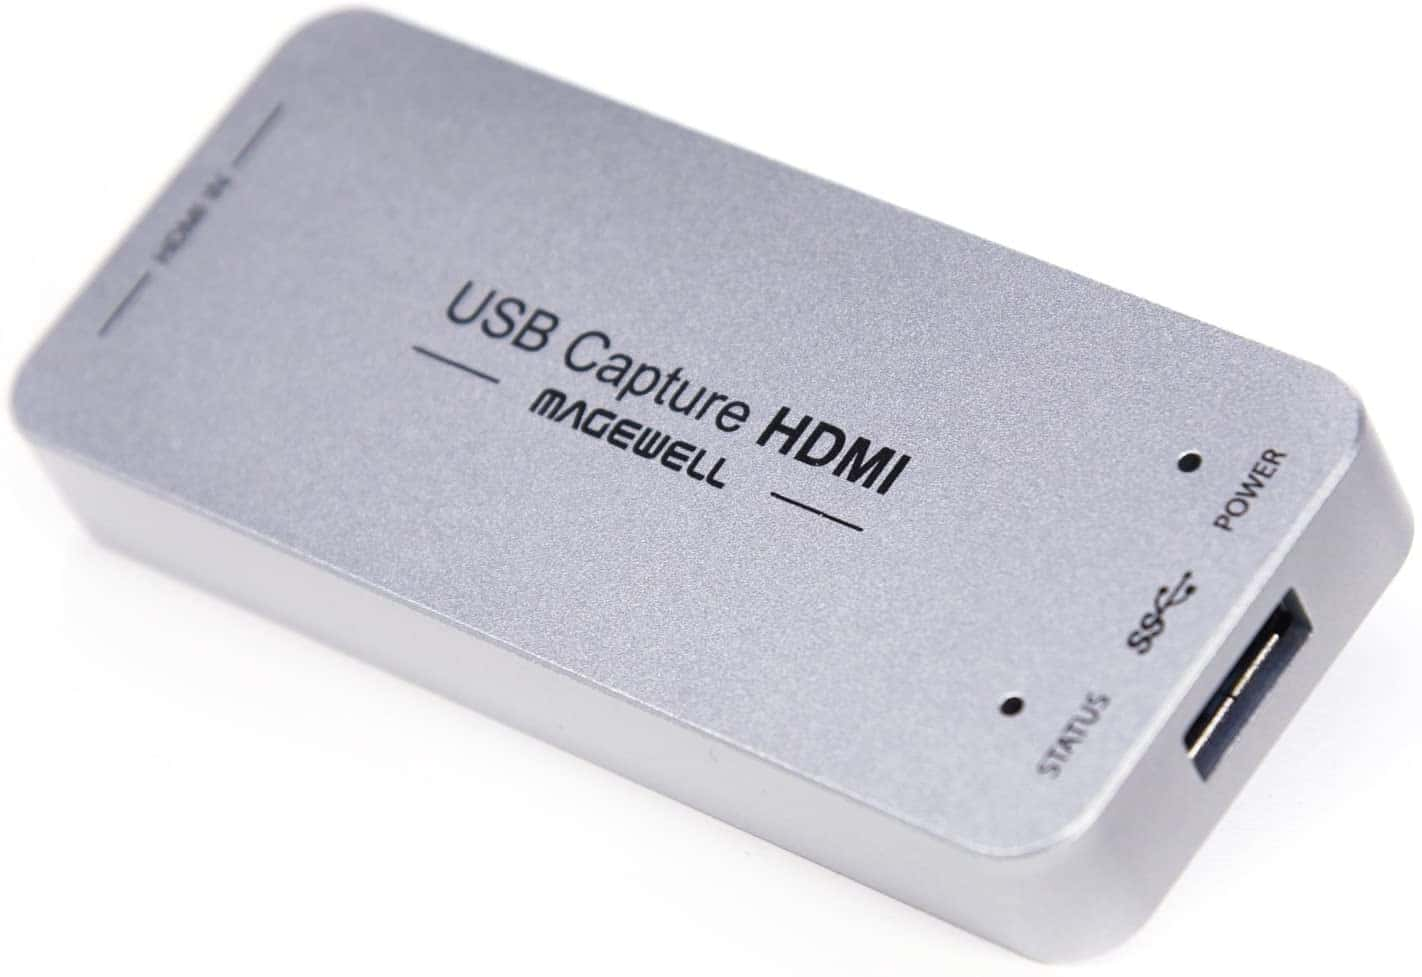
If you wish to add Wired input support to your Zoapi Hub, you will need to connect an HDMI to USB converter to Hub and configure the HDMI input feature on your Hub settings. While there are many HDMI to USB converter brands available in the market, Magewell Capture Gen 2 HDMI capture card is one of the popular one. In this article, we will show how to configure a Magewell HDMI capture card with Zoapi Hub.
First, connect the converter to Zoapi Hub and configure the Zoapi Hub as explained in this article. If the Magewell HDMI to USB converter is configured as needed, you will not need to do anything further and the converter should work as expected.
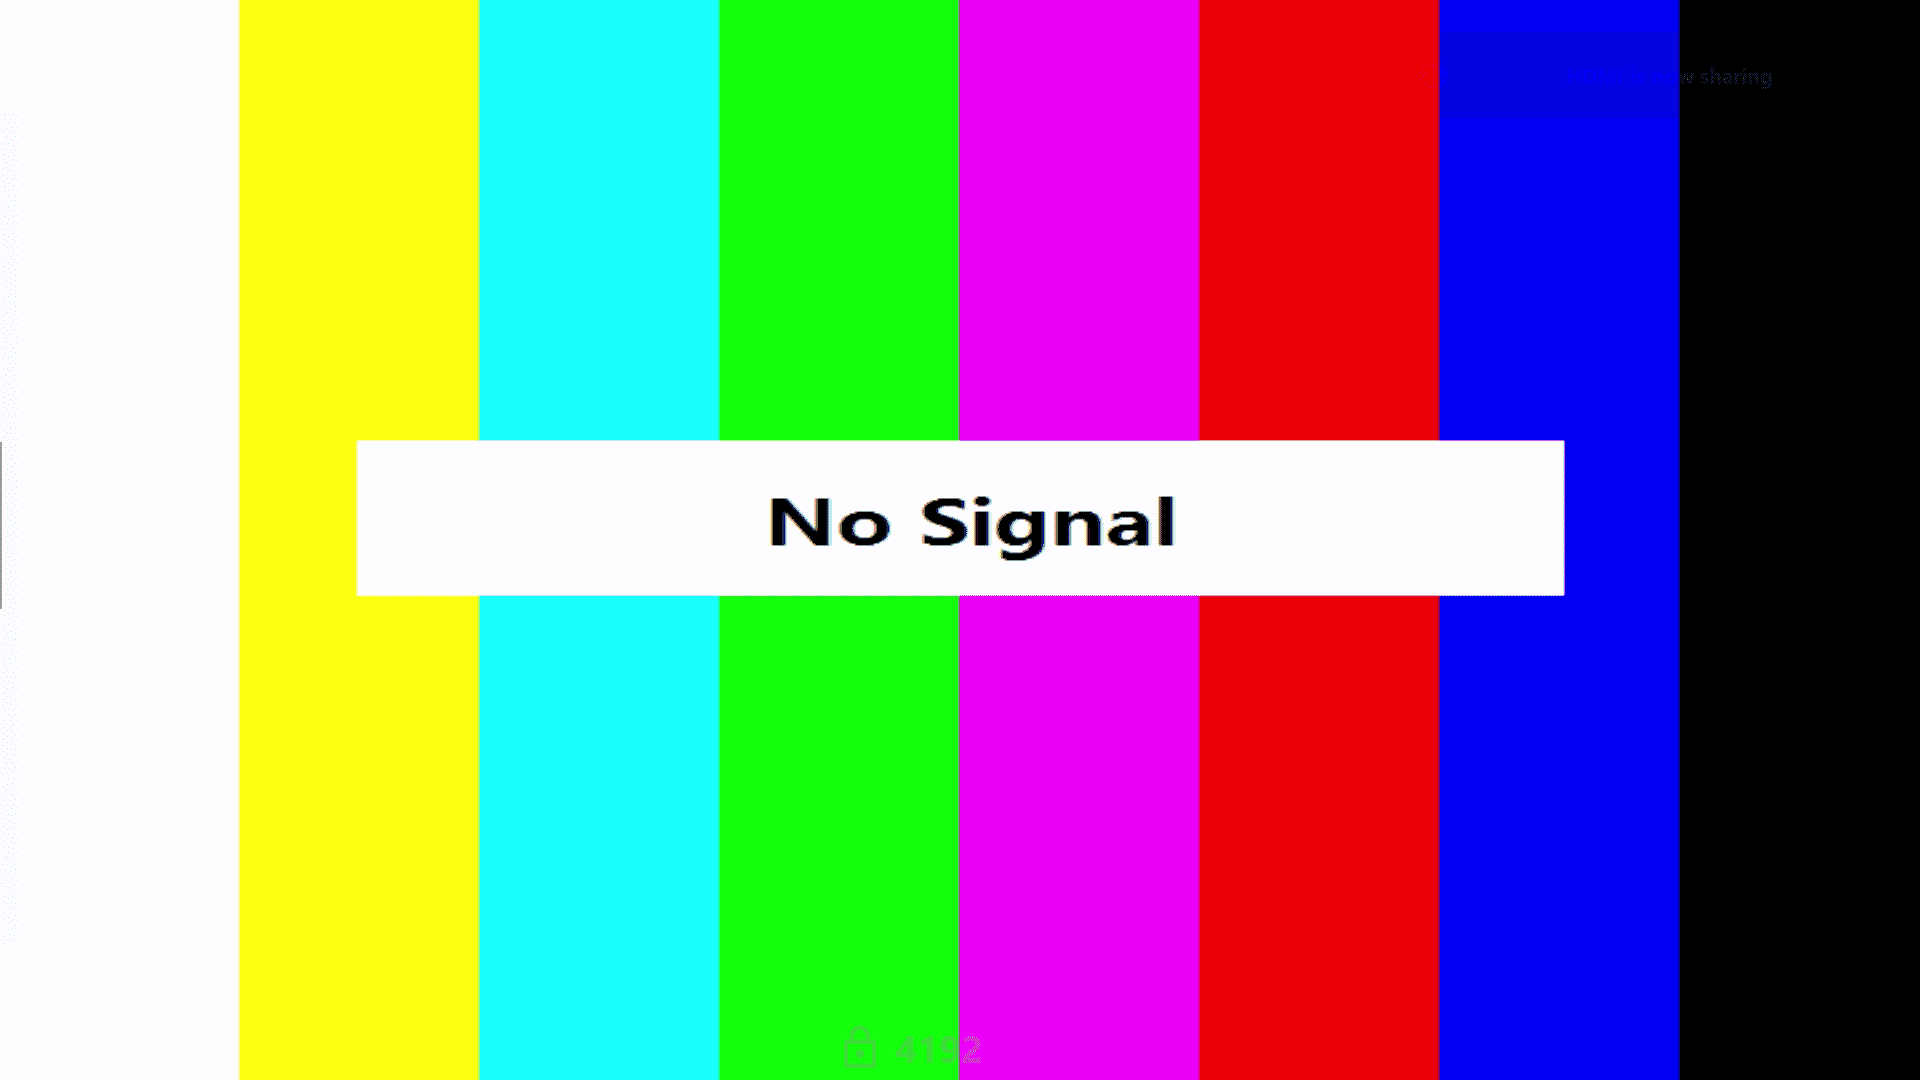
In case you start to see a pattern similar to the below image when no HDMI input source is connected then read on to fix it.

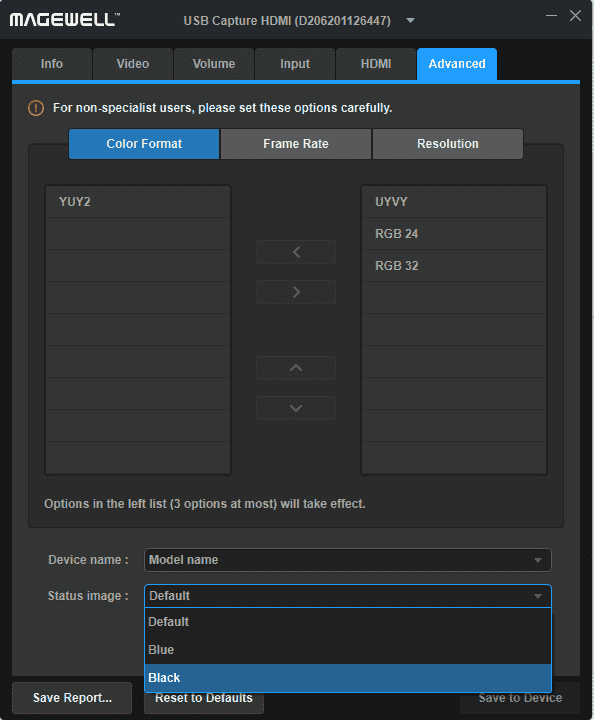
The above image is the output of the Magewell HDMI to USB converter when no HDMI input source is connected and Zoapi display it assuming it to be from a valid HDMI source. To fix this, you need to change the status image of the HDMI capture card to black. Follow the instructions given in this link: https://magewell.com/kb/000020019/detail . In the Magewell capture utility, configure the status image to black as shown below.

Once configured you should stop seeing the default pattern on the Zoapi Hub and when your laptop is connected to the HDMI input of the converter, it will automatically show up as HDMI input in the presenter’s list, and removed when unplugged. If it continues to show the pattern even after the configuration or if you face any other issue with HDMI input, restart Zoapi Hub and try again.
If it does not fix the issue, please contact our support team at support@zoapi.com.


